- ✂️ MATERIALS YOU WILL NEED FOR YOUR CO-ORD SET
- 👚 STEP 1: PLAN YOUR CO-ORD SET DESIGN
- 📐 STEP 2: TAKE BODY MEASUREMENTS FOR THE CO-ORD SET
- 🪡 STEP 3: CUTTING
- 🧵 STEP 4: SEWING
- 👖 THE WIDE-LEG PANTS
- ✨ STEP 7: FINISHING TOUCHES
- 🎀 ACCESSORISE YOUR CO-ORD SET
- 💡 BONUS TIPS
- 👗 STYLING TIPS FOR CO-ORD SET
- 🧺 CARE TIPS FOR CO-ORD SET
- 🧵 Final Thoughts
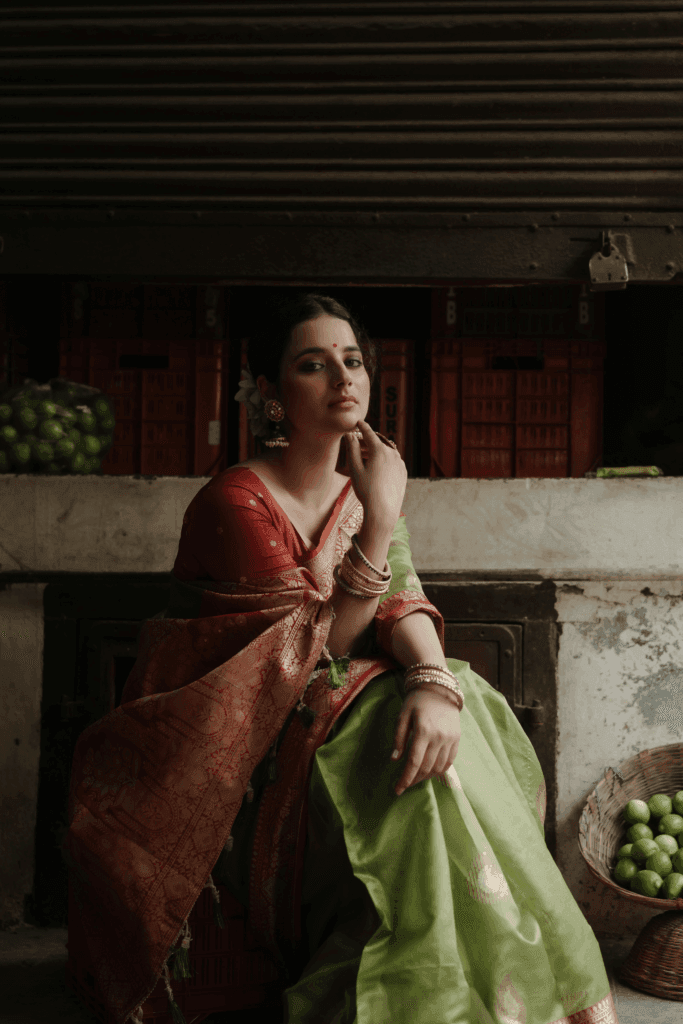
A silk saree is beautiful, elegant, and full of memories. But sometimes, it just sits in the wardrobe, unused for years. In contrast to letting it fade away, why not give it a fresh new life? With a little creativity, you can DIY your silk saree into a co-ord set that looks stylish and modern.

This guide will show you how to transform your silk saree into a trendy co-ord set — easily and step-by-step!
✂️ MATERIALS YOU WILL NEED FOR YOUR CO-ORD SET
- 1 silk saree (minimum 5.5 meters)
- Measuring tape
- Fabric scissors
- Fabric chalk or marker
- Matching thread
- Lining fabric (1.5–2 meters, optional)
- Elastic (1.5 inches wide)
- Hooks, zippers, or buttons (based on design)
- Sewing machine (or a tailor’s help)
- Pattern paper (optional but helpful)

👚 STEP 1: PLAN YOUR CO-ORD SET DESIGN
We’ll make:
- Crop Top – Sleeveless, back zipper, slightly structured.
- Wide-leg Pants – High waist with front waistband and back elastic.

You can adjust this based on your preferences — add sleeves, make it longer, or choose shorts instead of pants.
📐 STEP 2: TAKE BODY MEASUREMENTS FOR THE CO-ORD SET
Take accurate measurements before cutting the fabric.
For Crop Top:
- Bust: 34” (example)
- Waist: 28”
- Length: 15”
- Shoulder: 14”
- Armhole: 7.5”
For Pants:
- Waist: 28” (add 2–3” ease)
- Hip: 38”
- Length: 38”
- Thigh: 24”
- Bottom width: 24” (for wide leg)
- Crotch depth: 11”
🔎 You can adjust these based on your actual body measurements. Add seam allowances as required.
🪡 STEP 3: CUTTING
👚 FOR CROP TOP
Use the pallu or richly woven portion of the silk saree for the top. It adds detail and contrast.

Cutting Instructions:
Front Piece:
- Fold fabric in half (lengthwise) and mark:
- Length: 15” + 1” seam = 16”
- Width at bust: 17” (34”/2 + 1” for seam and ease)
- Neck depth: 6–7” (optional V or round neck)
- Armhole: 7.5”
- Cut the neckline, shoulder, and armhole curve.
Back Piece:
- Same as front, but cut down the center for zipper or hook opening.
Optional Lining:
- Cut same pieces from lining fabric for neat finish.
👖 FOR PANTS
Use the body of the saree or plain area for pants to balance the top.

Cutting Instructions:
You need 2 panels (front and back) — both cut on fold.
Front Panel:
- Waist width: 15” (half of 30” with ease)
- Length: 40” (2” extra for waistband and hem)
- Crotch curve: Mark 2” in and 11” down, draw curve
- Side seam: Straight line from hip to bottom
Back Panel:
- Same as front, but extend crotch curve by 1.5” outward
- Add 2” width for gathers with elastic at the back
Waistband:
- Front: 14” x 4”
- Back: 16” x 4” (to hold elastic)
Optional Lining:
Use lining for pants if saree fabric is transparent or delicate.
🧵 STEP 4: SEWING
👚 THE CROP TOP
Instructions:

- Attach Front and Back:
- Place right sides facing each other.
- Stitch shoulder seams (1/2”).
- Stitch side seams (1/2”).
- Finish Armholes and Neckline:
- If using lining, stitch lining to main fabric along neckline and armholes.
- Clip curves and turn inside out.
- Top stitch for a clean edge.
- Add Zipper or Hooks:
- At the back seam, insert zipper neatly or sew hooks and eyes.
- Hem Bottom Edge:
- Turn 1/2” in and topstitch, or attach lining fully.
👖 THE WIDE-LEG PANTS
Instructions:

- Join Front and Back Panels:
- Stitch crotch of both front and back panels separately.
- Then, place them together (right sides facing) and stitch the inseam from one ankle to the other.
- Side Seams:
- Join both side seams and press seams open.
- Make Waistband:
- Stitch the front and back waistband pieces together at the sides.
- Attach it to the pant top edge, right sides facing.
- Leave 1–2” gap at back to insert elastic.
- Insert Elastic:
- Cut elastic as per your waist (usually waist – 2”).
- Thread into the back waistband.
- Stitch both ends and close the gap.
- Hem The Bottom:
- Fold the bottom edge 1/2” twice and stitch.
✨ STEP 7: FINISHING TOUCHES
- Press all seams and edges for a polished look.
- Check fit and make adjustments.
- Add embellishments like fabric buttons, tassels, or piping using saree borders.
Watch these stunning transformations by Ashi Gautam and Rupali Negi for more inspiration, insights and tips.
🎀 ACCESSORISE YOUR CO-ORD SET
If extra fabric remains:
- Make a short dupatta or scarf using leftover pallu.
- Add tassels to the ends.
- Use border fabric to make a fabric belt.

💡 BONUS TIPS
- Always iron saree before cutting to remove creases.
- Use fine needles for sewing to avoid tearing silk.
- Keep a muslin cloth under the silk while pressing.
- Avoid pins; use fabric clips to avoid holes.
👗 STYLING TIPS FOR CO-ORD SET
Formal Look:
- Wear with heels and gold jhumkas.
- Add a clutch made from leftover saree fabric.

Festive Look:
- Pair with a silk dupatta.
- Add bangles and bold lipstick.
Casual Look:
- Style the crop top with jeans or pants.
- Wear the wide-leg pants with a tucked-in white shirt.
🧺 CARE TIPS FOR CO-ORD SET
- Dry-clean recommended, especially if lined.
- Store flat or on a hanger with a cloth cover.
- Avoid perfume or deodorant directly on fabric.
- Iron with low heat using a pressing cloth.
🧵 Final Thoughts
Silk saree transformation into a DIY co-ord set is a joyful, meaningful, and creative experience. It not only saves an old saree from being wasted but also gives you a stylish and modern outfit.
With this step-by-step guide, you can confidently make your own co-ord set at home. Just plan, measure carefully, and stitch with love. In the end, you’ll have a custom-fit, elegant, and timeless outfit — all from something you already owned.